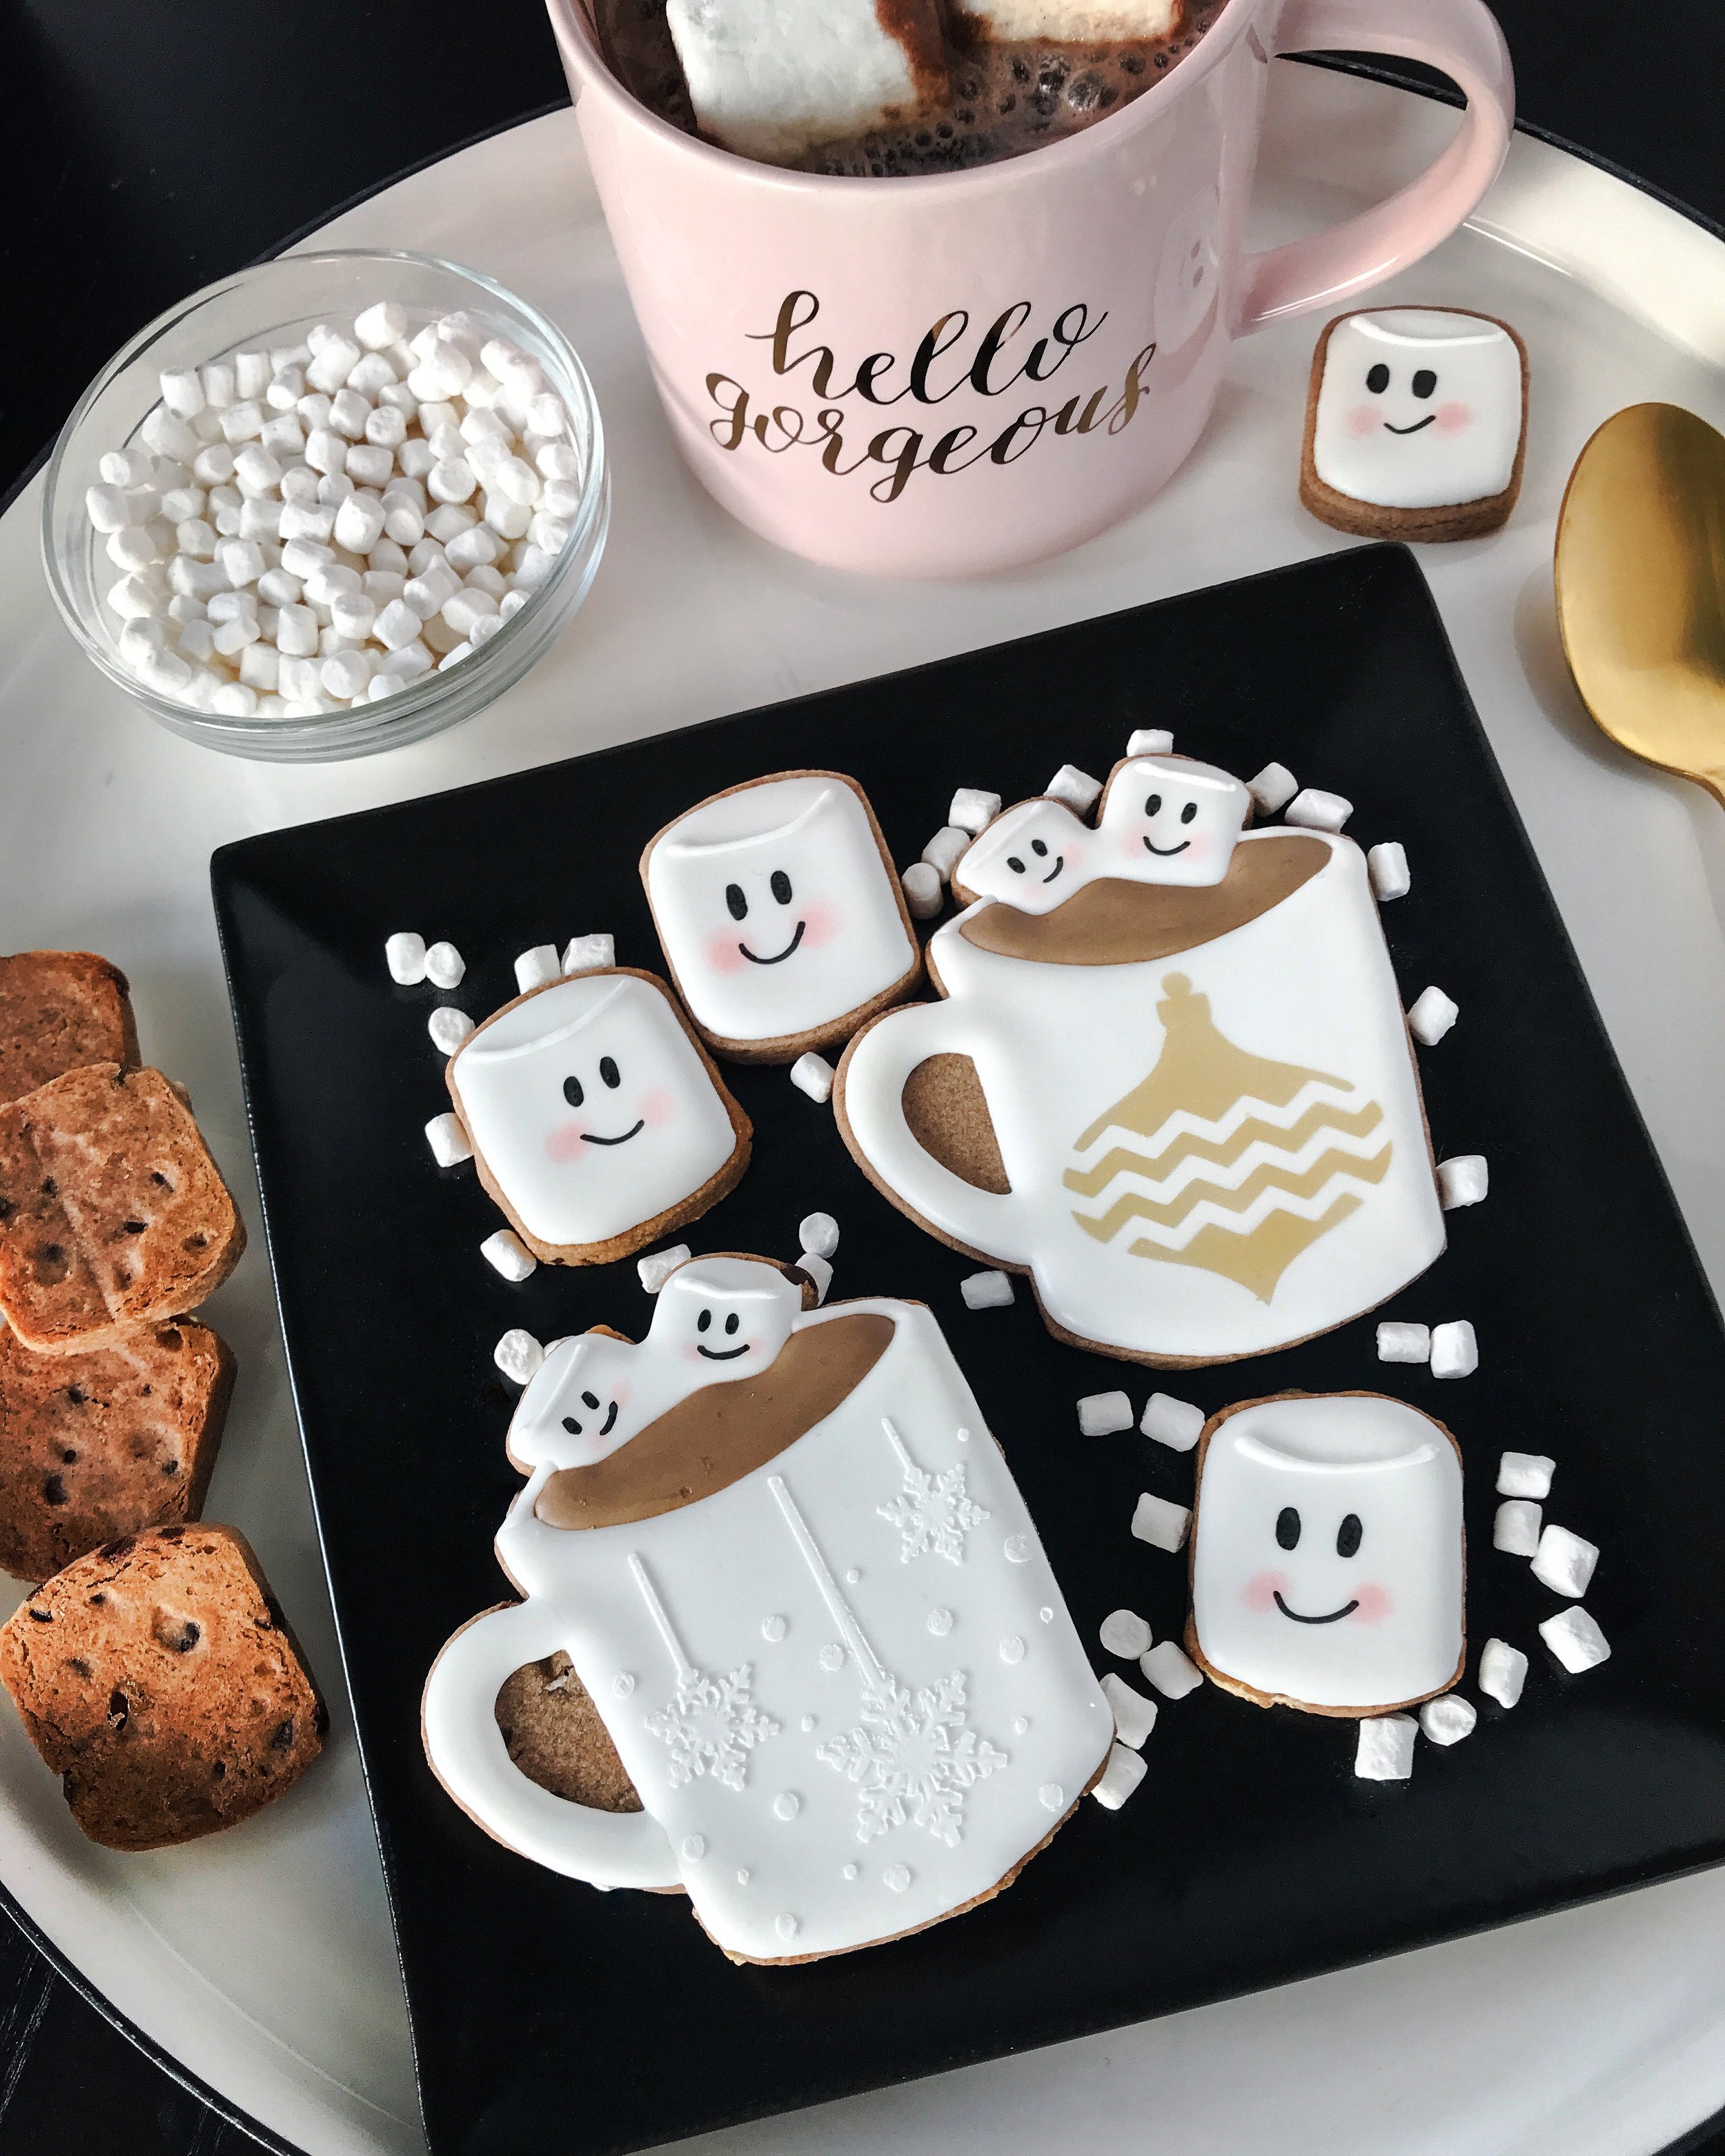
I’ve taken a bit of a cookie hiatus these last few months, but with Christmas right around the corner, I knew I needed to dust off the old icing couplers. In digging through all of my cookie cutters looking for inspiration, I came across a mug and marshmallow set I bought last year specifically under the guise of trying Semi Sweet Design’s hot chocolate rollout cookie recipe. Realizing that I still needed to justify their purchase, I got to work -- and I’m so glad I did because you just can't deny the anthropomorphic cuteness of these cookies.
Hello gorgeous little cookies...
I didn’t follow the recipe to a T (more on that later), but I was really pleased with how well the dough retained its shape while baking. I split the batch into two – one with mini chocolate chips and marshmallow bits and one without. You can see the difference in the batches below:
Testing with and without chocolate chips and marshmallow bits
The dough with the chocolate chips and marshmallow bits obviously left the cookies slightly bumpy on top, which would have made decorating a nightmare, so I gently flattened them with a large metal spatula. I actually do this with all of my cookies to reduce any air bubbles or other indentations and it worked perfectly with these as well.
Gently smooth the tops of the cookies immediately after removing from oven
Semi Sweet’s Mike mentions in his recipe that the marshmallow bits melted and he had to replace them with new ones after baking. I only had this happen in a few spots (maybe because I added more hot cocoa mix?), but his trick did work. You definitely need to add the new marshmallow bits while the cookies are still warm though, so you can squish them in to minimize those nasty bumps I mentioned above.
Cookie reverse -- you can see the gaps left by the melted marshmallow bits
The result was a delicious, light chocolate flavored sugar cookie that was incredibly fun to decorate. I knew I wanted to keep these cookies really clean and make the emphasis the sweet marshmallow faces, so I stuck to an almost all-white color palette.
Look at those rosy cheeks!
I used stencils to add some design and experimented using both royal icing and airbrushing techniques. I love the airbrushed gold, but love the extra dimension of the royal icing. I drew the marshmallow faces using edible black marker and added the rosy cheeks -- the color I really wanted to pop -- using a deep pink petal dust.
Fun, wintery cuteness on a plate
Other notes:
- These were made using my HOT CHOCOLATE ROLLOUT COOKIE and ROYAL ICING recipes. As I mentioned above, the cookie recipe was slightly altered from Semi Sweet Designs.
- I buy so many cookie cutters that I can’t remember where I got these, but Bobbi’s Cookie Cutters has some really cute, similar options.
- I get all of my airbrushing supplies from The Cookie Countess. I've tried a number of airbrush brands and swear by Dinkydoodle. It dries almost immediately, which is great for airbrushing beginners like me because I swear it cuts down on overspray. This pearl gold is especially gorgeous.
- The snowflake and ornament stencils are also from The Cookie Countess.
- I applied the pink petal dust using a Q-tip. You can use a small, square paintbrush, too, but for cheeks I like the perfect roundness you get with a basic cotton swab. I used Global Sugar Arts watermelon shade to get that bright pink color. Luster dust would also work well.
- This post is not sponsored by any of the suppliers listed above.


